Controls & Safety Troubleshooting Guide: Air Damper Control and Fuel Modulation Failures in HVAC Burner Systems
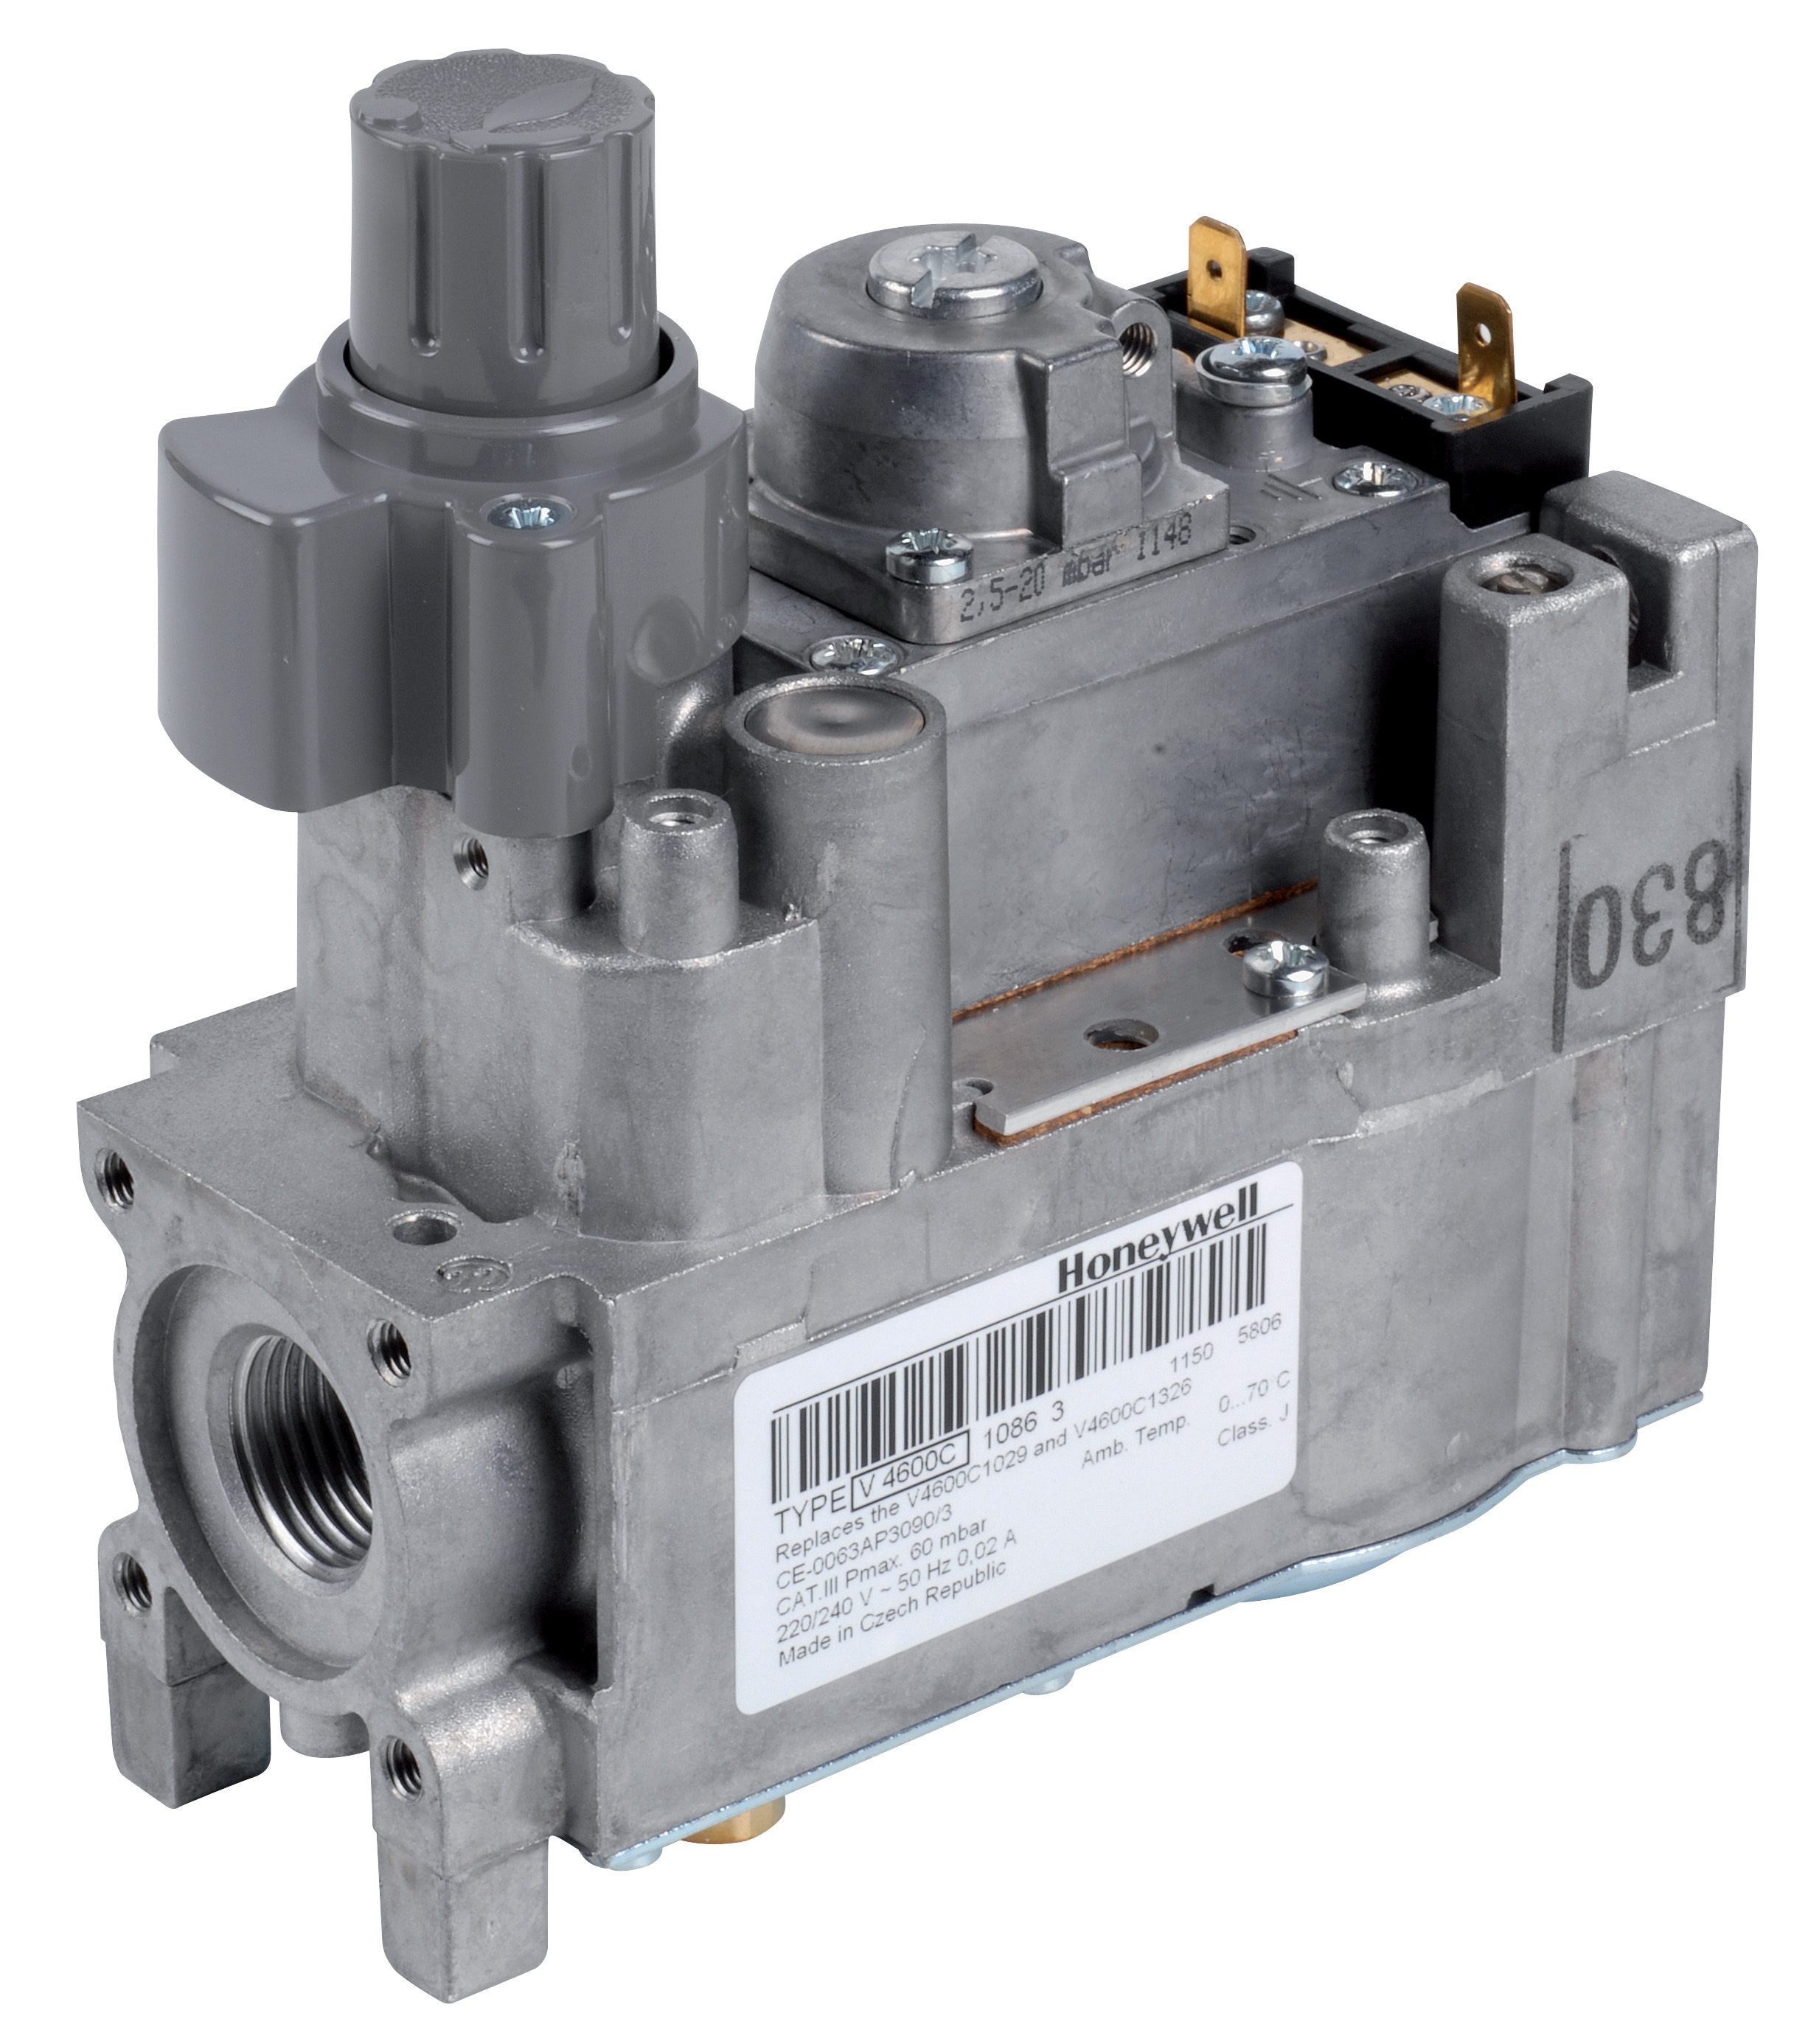
Table of Contentsexpand_more
Understanding Controls & Safety in Air Damper and Fuel Modulation Systems
Controls & Safety systems governing air damper position and fuel modulation represent some of the most complex troubleshooting scenarios for HVAC contractors. Unlike simple on-off solenoid valves, modulating control circuits require synchronized feedback between burner control units, pressure regulators, and actuator motors. When this coordination breaks down, you face either locked-out burners, unsafe fuel-air ratios, or inefficient operation that wastes energy.
With over 35 years of experience supplying industrial equipment across Southeast Asia, 3G Electric has observed that air damper and fuel modulation failures account for roughly 20-25% of service calls in commercial HVAC installations. These failures often stem from electrical signal degradation, mechanical binding in damper linkages, or tuning drift in proportional control loops.
This troubleshooting guide focuses on practical diagnostic steps you can perform on-site to isolate whether the fault lies in the safety control relay, the modulating pressure regulator, the damper actuator, or the feedback sensor network.
Section 1: Identifying Control Signal Loss Between Relay and Modulating Regulator
The Signal Path and Common Failure Points
Modern HVAC burner controls rely on a 4-20 mA control signal transmitted from the safety relay to a proportional pressure regulator. This signal commands the regulator to adjust fuel pressure proportionally to demand. If the signal is weak or absent, the regulator defaults to full pressure, causing runaway fuel delivery or safety shutdown.
Start your diagnosis by confirming signal presence at both ends:
- At the relay output terminal: With the burner in manual modulation mode or automatic fire sequence, measure the 4-20 mA signal directly at the relay's control output using a clamp ammeter or multimeter in mA mode. The signal should vary smoothly between 4 mA (idle) and 20 mA (full fire) as you adjust the demand control.
- At the regulator input: Follow the signal wiring to the modulating regulator—for example, the Honeywell VK 4105 C 1041 U electric modulating pressure regulator. Measure the incoming signal at the regulator's command input terminals.
- Broken signal wiring (check for pinched cables, corroded connectors, or loose terminals)
- Intermediate terminal block failure
- Relay output stage short or open circuit (test the relay with an isolation meter; resistance should be <10 ohms when energized)
Pressure Regulator Response Testing
Even with a correct input signal, the pressure regulator may fail to modulate fuel pressure. This occurs when the internal servo valve is stuck or the feedback transducer is reading incorrectly.
Perform a manual bench test on the regulator:
1. Isolate the regulator from the burner fuel line (cap or plug the outlet).
2. Supply 24 VDC control signal to the regulator's command terminals in 5 mA increments (4, 9, 14, 20 mA).
3. At each step, measure the outlet pressure with a calibrated gauge.
Expected behavior: Outlet pressure should increase linearly or nearly linearly with command signal. For the Honeywell VK 4105 C 1041 U, a 4-20 mA input should yield proportional outlet pressure change across its operating range.
If pressure remains fixed regardless of input signal, the servo valve is mechanically stuck (clean with solvents or replace). If pressure jumps erratically, the feedback transducer may be intermittent (reseat connectors or replace the transducer card).
Section 2: Damper Actuator Lockup and Position Feedback Faults
Mechanical Binding vs. Electrical Loss
Air dampers controlled by proportional motors must move freely across their full stroke. A binding damper—caused by ductwork misalignment, corrosion deposits, or worn linkage—creates back-pressure that either stalls the actuator motor or tricks the control system into thinking it has reached an unsafe condition.
To distinguish mechanical from electrical faults:
- Manual damper actuation: With power removed from the actuator motor, attempt to move the damper linkage by hand. If it moves freely, the mechanical linkage is sound. If resistance is high or the damper locks at certain positions, you have corrosion, misalignment, or bearing wear.
- Power-on slow creep test: Restore power and command a small signal change (e.g., 6 mA instead of 4 mA). The damper should begin moving within 2-3 seconds. If it does not move, the motor stall-torque is insufficient (test motor voltage and phase), or the control signal is not reaching the actuator amplifier.
For dampers integrated with a safety relay such as the Siemens LFL 1.622, which features controlled air damper capability, verify that the damper output terminals are energized during burner operation. Use a multimeter to check for switching voltage (typically 120 or 230 VAC) at the damper motor terminals.
Position Feedback Sensor Diagnostics
Proportional dampers employ a feedback potentiometer or linear transducer to report damper position back to the control relay. If this feedback signal is lost or drifts, the control loop goes unstable: the relay cannot confirm damper position and issues erratic correction commands, causing hunting or runaway.
Testing feedback signal integrity:
1. With the damper commanded to a mid-position (12 mA control signal), measure the feedback voltage at the potentiometer wiper or linear transducer output.
2. Slowly increase the command signal and verify the feedback signal increases proportionally.
3. With the command at maximum (20 mA), the feedback should read approximately 4.5-5 VDC (if supplied by a 5 VDC reference) or within the transducer's specified output range.
4. Decrease the command and confirm feedback decreases smoothly without sticking or jumping.
If feedback is absent (reads 0 VDC or constant value), check:
- Feedback wiring continuity and connections
- Potentiometer supply voltage (should be steady 5 VDC at the transducer power terminals)
- Potentiometer mechanical condition (rotate the damper linkage manually; the feedback voltage should vary linearly across full range)
A stuck or drifting feedback sensor will cause the relay to generate a safety lockout after detecting position error for >5 seconds. In such cases, replace the potentiometer or linear transducer—do not attempt repair, as calibration loss creates fire risk.
Section 3: Control Relay Tuning and Loop Instability
Proportional Control Parameter Drift
Safety control relays like the Kromschroder BCU 570WC1F1U0K1-E and the Siemens LFL 1.622 contain proportional-integral (PI) or proportional-derivative (PD) control algorithms that tune damper and fuel modulation response. Over time or due to component aging, these parameters can drift, causing:
- Hunting: Damper or fuel pressure oscillates around setpoint (±5-10% continuously)
- Dead band: Small signal changes produce no response; large changes overshoot
- Sluggish response: Burner takes >30 seconds to modulate to load changes
Check parameter settings in the relay configuration memory. Most modern relays store tuning parameters in non-volatile flash memory, but power supply voltage spikes, lightning strikes, or incorrect resets can corrupt these values.
Perform a tuning reset procedure:
1. Verify the relay supports parameter reset (check the installation manual or contact the manufacturer).
2. Power down the burner and wait 30 seconds for capacitor discharge.
3. If the relay has a reset button or menu option, activate it according to the manual.
4. Power the burner back up and allow the relay to reinitialize (typically 10-15 seconds).
5. Re-commission the burner with manual fire sequence, adjusting demand in small increments and observing damper and fuel response smoothness.
If hunting persists after reset, the proportional valve or actuator motor may be experiencing hysteresis or stiction. Consult the relay manufacturer's support team for custom tuning parameters suited to your specific actuator and regulator combination.
Feedback Loop Noise and Sensor Shielding
VHF radio transmitters, nearby power lines, or poor grounding in the burner room can inject electrical noise into feedback signals, causing the control loop to misinterpret damper position or fuel pressure. The relay interprets noise as rapid position changes and issues oscillating correction commands.
Noise reduction steps:
- Shield feedback cables: Run 4-20 mA signal wiring in shielded twisted-pair cable separate from power wiring. Connect shield only at the relay end (single-point grounding prevents ground loops).
- Use ferrite clamps: Install ferrite snap-clamps on feedback transducer power and signal leads to suppress RF interference.
- Verify ground bonding: Confirm that all transducers, relay enclosure, and fuel/air control equipment are bonded to a common earth ground with <1 ohm resistance. Use a clamp meter to verify continuity.
- Increase damping filter: Some relays allow adjustment of feedback signal filtering. Increase the time constant from 0.5 sec to 2-5 sec to smooth noisy signals (consult relay manual for menu access).
Section 4: Pressure Switch Coordination with Modulating Control
Air Pressure Switch Alignment
The ductstat or air pressure switch (such as the Kromschroder DG 50U/6 pressure switch) must coordinate with damper position. When supply air pressure drops below setpoint, the switch signals the relay to close the fuel valve, preventing unsafe operation with insufficient combustion air.
However, if the air pressure switch setpoint drifts or the switch becomes sluggish, it may:
- Block fuel flow when damper is actually open (false lockout)
- Fail to shut down fuel when air pressure genuinely drops (safety breach)
1. Set the burner to manual fire and slowly open the air damper to full position.
2. Measure the actual static pressure in the ductwork downstream of the damper using a manometer.
3. Cross-reference the measured pressure with the pressure switch setpoint (normally stamped on the switch body or listed in the control documentation).
4. If measured pressure exceeds setpoint but the switch has not closed, the switch may be sticking or the electrical contact may be oxidized. Cycle power to the switch 5-10 times to clean the contact.
5. If the switch still fails to respond, replace it (do not attempt to adjust setpoint on field-sealed switches—it voids certification).
For the Kromschroder DG 50U/6, which is rated SIL 3 and meets EN 1854, verify that you are using a certified replacement if a switch requires replacement. Non-certified switches jeopardize system safety.
Interlock Timing Between Air Pressure and Fuel Modulation
The relay must enforce a sequence: air pressure must be confirmed above setpoint before allowing fuel modulation to begin, and fuel must shut off immediately if air pressure drops. Timing misalignment creates a window where fuel flows with inadequate combustion air.
Test the interlock timing by:
1. Starting the burner with all systems normal.
2. Gradually closing the air damper (simulating a duct blockage) while monitoring fuel pressure and air pressure.
3. Record the exact moment air pressure falls below switch setpoint and the exact moment fuel pressure drops to zero.
4. The time delay should be <2 seconds (per EN 676 and EN 746-2 standards).
If the delay exceeds 2 seconds, the relay's fuel shutoff solenoid may be slow to respond. Test the solenoid by powering it directly with 24 VDC and listening for an audible click. If the solenoid does not respond or clicks slowly, replace it.
Practical Maintenance Schedule for Controls & Safety
Prevention reduces troubleshooting burden. Implement this quarterly and annual maintenance:
Quarterly:
- Visually inspect damper linkage for corrosion or loose fasteners
- Listen to damper motor during modulation for grinding or stalling
- Check that all feedback cables remain shielded and grounded
- Perform manual damper actuation test (hand-move the damper)
- Bench-test feedback potentiometer (vary damper position; confirm linear signal change)
- Clean relay enclosure and heatsinks of dust and debris
- Cycle pressure switch 10 times to clean electrical contacts
- Verify all relay parameter settings match original commissioning documentation
By maintaining accurate records of parameter settings, sensor output ranges, and relay firmware versions, you will quickly identify drift or corruption when failures occur.
Conclusion
Controls & Safety troubleshooting in air damper and fuel modulation systems demands methodical signal tracing, mechanical inspection, and parameter verification. With the diagnostic procedures outlined here, HVAC contractors can resolve 80% of field failures without factory recalls or lengthy downtime.
3G Electric supplies the critical components—relays like the Siemens LFL 1.622, modulating regulators like the Honeywell VK 4105, and pressure switches like the Kromschroder DG 50U/6—that govern safe, efficient burner operation. Having these components on hand, along with spares of high-failure items (feedback potentiometers, solenoid valves), ensures rapid restoration of service.
![Satronic Burner Controls SG | Buyer's Guide [2026]](https://oxalncjenpflyqfncuhe.supabase.co/storage/v1/object/public/product-assets/cbm/57d089e0-d3cf-4168-9f73-fb6bf7a7163b.jpg)